The Secretes of the Reverende Maister Alexis of Piemount1 contains a formula for dying leather a very blue color using an elderberry mixture.
Though an alternate translation2 is available, my attempt at a direct translation would be as follows:
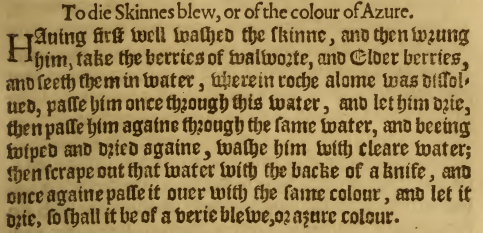
"To die Skinnes blew, or the color of Azure.
Having first well washed the skinne, and than wrung him, take the berries of walworte, and Elderberries, and seeth them in water, wherin Roche Alome was
dissolved, passe him once through this water, and let him drie, than passe him againe thorowe the same water, and beeing wiped and dried againe, washe him with cleare water; then scrape out that water with
the back of a knife, and once again passe it over with the same colour, and let it drie so shall it be of a verie blewe, or azure colour."
From the source material, I'm reading the instructions on the dye process for this as follows:
1) Begin by cleaning the skin thoroughly, then wring it out.
This statement in the process would lead me to believe that the dying itself was included as a part of the tanning process. In the
current manner of purchasing a vegetable tanned leather that's already been tanned, the skin should not need to be cleaned again - since the fat and residual flesh bits are already scraped off for us.
This being the case though, it is of note that the soaking and wringing out of the skin should still be utilized so that the moisture in the skin will more readily accept any color that it is exposed to (as opposed to using the dye on a dry piece of leather). This is generally the case for modern stains and dyes that are water based as well. Damp leather allows water based commercially available products to soak in more as it blends into the present moisture.
2) Prepare the dye solution
In this case, the Maister references preparing water by dissolving alum in it prior to boiling the elderberries in it. This part of the process should serve two purposes.
When alum is added to a dye, it acts as a mordant3, allowing the dye itself to set better by fixing itself to the fibers of the leather. At the same time, it may intensify or darken the color
of the dye itself. In this application, I think that it was being prepared as such to darken the color of the elderberries enough to achieve the very blue color that he spoke of.
3) Let the dye vat cool
The Maister did not include this step, so why am I putting it in here instead of following his instruction alone? If you've ever put a piece of leather into boiling water
(dyed or not), you know that this leads into hardening of the leather. This is an experiment on dye processes, I will attempt cuir boulli
separately. Hot water will compress the fibers of the leather more than I'm attempting to produce here, but it is of note that the dye itself will work its way into the fibers of the leather if it is warm - not
cold. I am looking for a balance point in this process in which I could place my hand into the dye vat and the contents be close to body temperature.
4) Imerse the side in the dye solution
In this translation, the Maister instructs to pass the skin through the dye vat three times with slight variance in each pass. After the first pass through the
dye vat we are told to wipe it down and let it dry. This should give us a good base for the color and, after it dries from the first pass, a basis for comparison on additional passes. After the second pass through
the dye we are told to rinse the skin with clean water, then scrape the water out of the skin with the back of a knife. The rinsing with clean water after the second immersion should also help to push the dye into
the fibers of the skin at the same time as washing the excess off of the surface where it may have dried up in the first pass. The third pass simply states that you should pass the skin through the dye vat once
more and let it dry completely. This should render the surface completely colored, where the first two passes seem to be making certain that the dye is worked all the way through.
Knowing that I had not dealt with scratch made dye in the past, I figured I'd start small. For the elderberries themselves, I had to use dried berries that I was able to get from Earth Fare (no fresh berries were available locally). I also found some listed on Amazon that carried the same brand, so I ordered extra from there in order to have a backup supply for subsequent attempts.
To begin, I combined 1 cup of the dried berries and 1 cup of tap water in a sealed container for 24 hours at room temperature (+/- 72 degrees) in order to rehydrate the berries. Since the noted formula was most likely referencing fresh berries, my hope was that doing this would at least lend a texture that was similar in nature once the berries were rehydrated. Just soaking the berries in such a manner gave a very deep purple to the water that was used in the rehydration process.
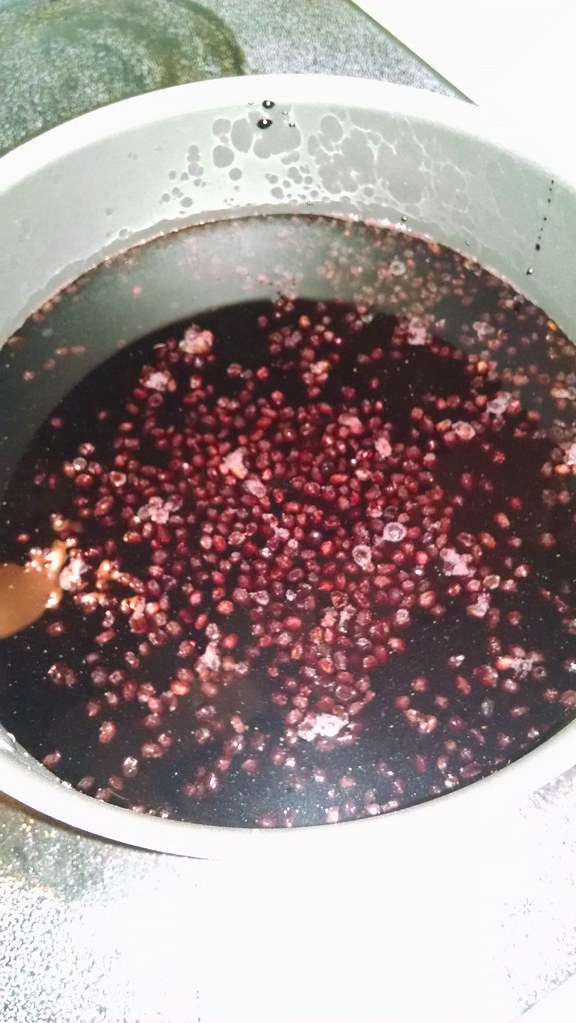
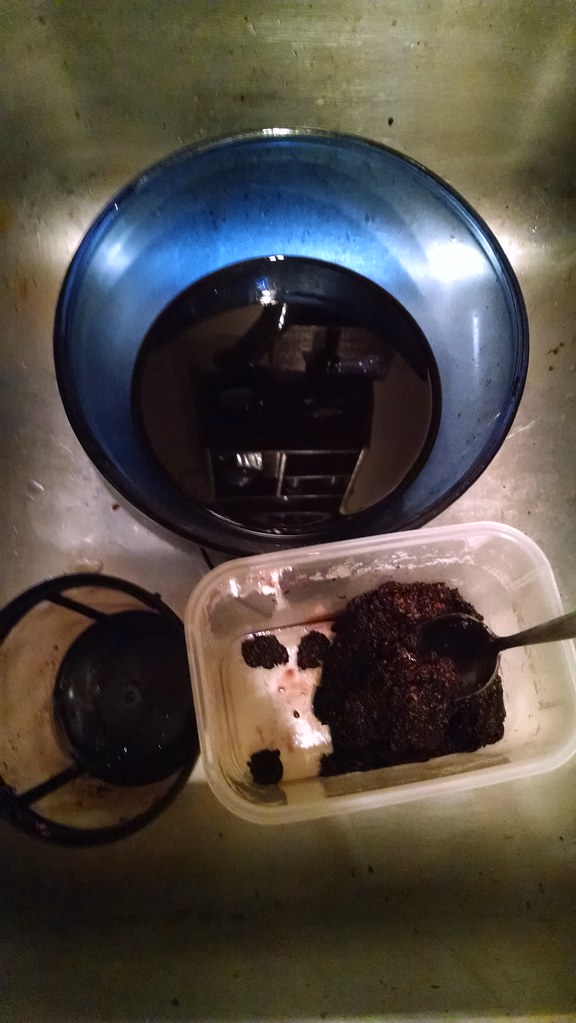
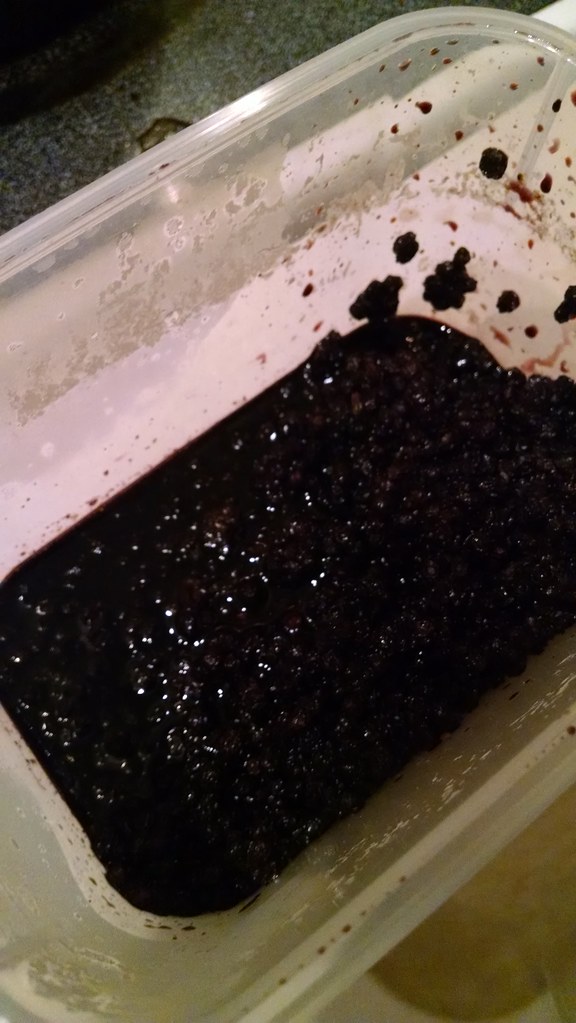
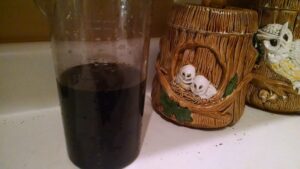
After 24 hours had passed, I set 2 cups of water to a slow rolling boil at medium heat in an aluminum pot, dissolving a tablespoon of Alum (McCormick's from the grocery store). Once I could not see the Alum granules in the water, I then put the entire contents of the rehydrated berry container (both the berries and water) into the pot. To make sure that I could get as much of the juice from the berries as possible, I crushed them against the sides of the pot as they boiled as well. I left the berries to boil with minimal stirring for 1 hour, then left the pot to cool for 1 hour. Once the pot had cooled enough to handle I strained the juice using a mesh coffee basket filter, squeezing the pulp against the side wall of the filter with a spoon in order to get all of the juice from the pulp as possible. This process yielded just shy of 1 pint/2 cups of dye.
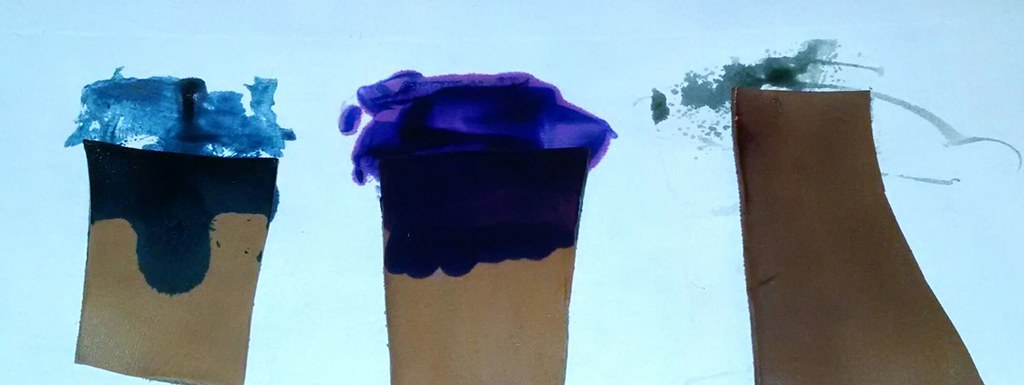
Initial observation of the yielded berry juice is that it is a very deep (and quite pretty) shade of purple. The places that I had spilled a little of the juice on the counter (and my hands) was purple as well, so I was not sure if I had done something entirely wrong, since this was to be a formula to make blue dye. For a comparison point of the dipping process, I decided to use blue and purple samples from the current stains that I use on a regular basis in order to draw a comparison using a single dunk into the respective dyes.
For the initial application, I prepared the pieces of leather in the same manner, thoroughly soaking 3-4oz veg tanned leather with tap water, as indicated in the initial formula. I then dipped each piece in their respective colors, then wiped the swatches down and set them to dry.
The water stain took immediately to the leather (as I'm used to seeing), where the elderberry dye was very light in color. As it was applied, it stayed purple in color while it was wet. I was very disheartened, again, since it was supposed to be blue. Then I noticed (a couple hours later) that the paper behind the swatch was actually blue! I completed the remaining immersions as instructed, the second pass was followed by rinsing and breaking the fibers back up, then the third pass was just dunking and letting the leather dry again.
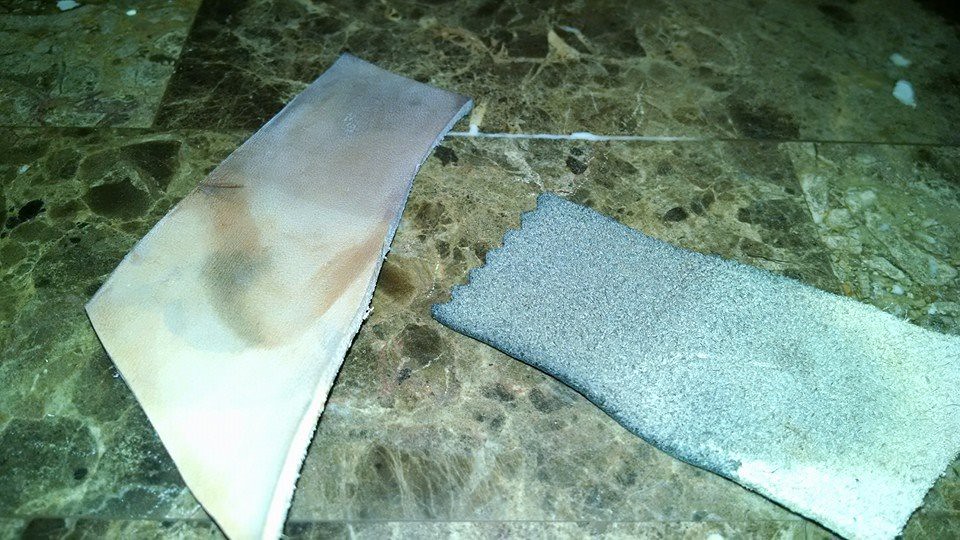
The process that I followed was on the literal side, I read the instructions as making passes through the vats. After looking at the initial results, I see that the dye took very well to the paper, but it doesn't take a lot to turn paper (as opposed to soaking into the leather). A follow up application to a piece of already treated garment leather (seen above) let me see a little bit better what would happen to the suede side of the leather in comparison to the veg tanned application. I'm drawing a couple of conclusions that I will test against in subsequent attempts, though I will utilize the same process(es) as noted above.